


This is the full list of the commands for the latest version of the mod (#304). It will cover all the commands' usage with -sometimes- some technical explaination with it to help you understand them. The mod might require a bit of learning first, but becomes pretty easy once you get used to it.
THIS NOT A CINEMATIC GUIDE!! Only the commands will be explained here, but not all the recording process. This list is just here to help you using and understanding the commands, but the way you want to use them is all up to you.
/noclip2 : Toggles "noclip" mode on and off /clone : Spawns a clone of yourself /clearbodies : Deletes all dead bodies /actorback : Resets all actors to previous state /mvm_score SCORE : Changes score per kill (default 5) /mvm_killstreak NAME : Grants you a killstreak (see killstreaks list) /mvm_give WEAPON CAMO : Gives weapon (see weapons & camos list) /mvm_throwgun [1/0] : Toggles MW2019-style weapon gravity on death (experimental) /ui_mw3popup [1/0] : Enables IW5-style screen popups on kill /ui_showActorNames [1/0] : Hide or show names of actors when looking at them /testClients_ commands : Collection of commands for bots (shoot, crouch, move, etc...) /test_ commands : Collection of random commands, try them yourself
Bots are what they are, no need to explain. They have no AI. Note that bot commands work on yourself aswell.
/mvm_bot_spawn Class Team
This command allows you to spawn... a bot. Who would have thought?
Their weapon will get random camos/attachment by default. Snipers won't get random attachments
If you want your bots with stock weapons, set /mvm_bot_customweapons to 0
• Class is one of the following : inter, mp5, m4, ak47, barrett, ump, deagle, uzi, aug • Team is either "axis" or "allies"
Image example : /mvm_bot_spawn inter allies /mvm_bot_spawn ak47 axis
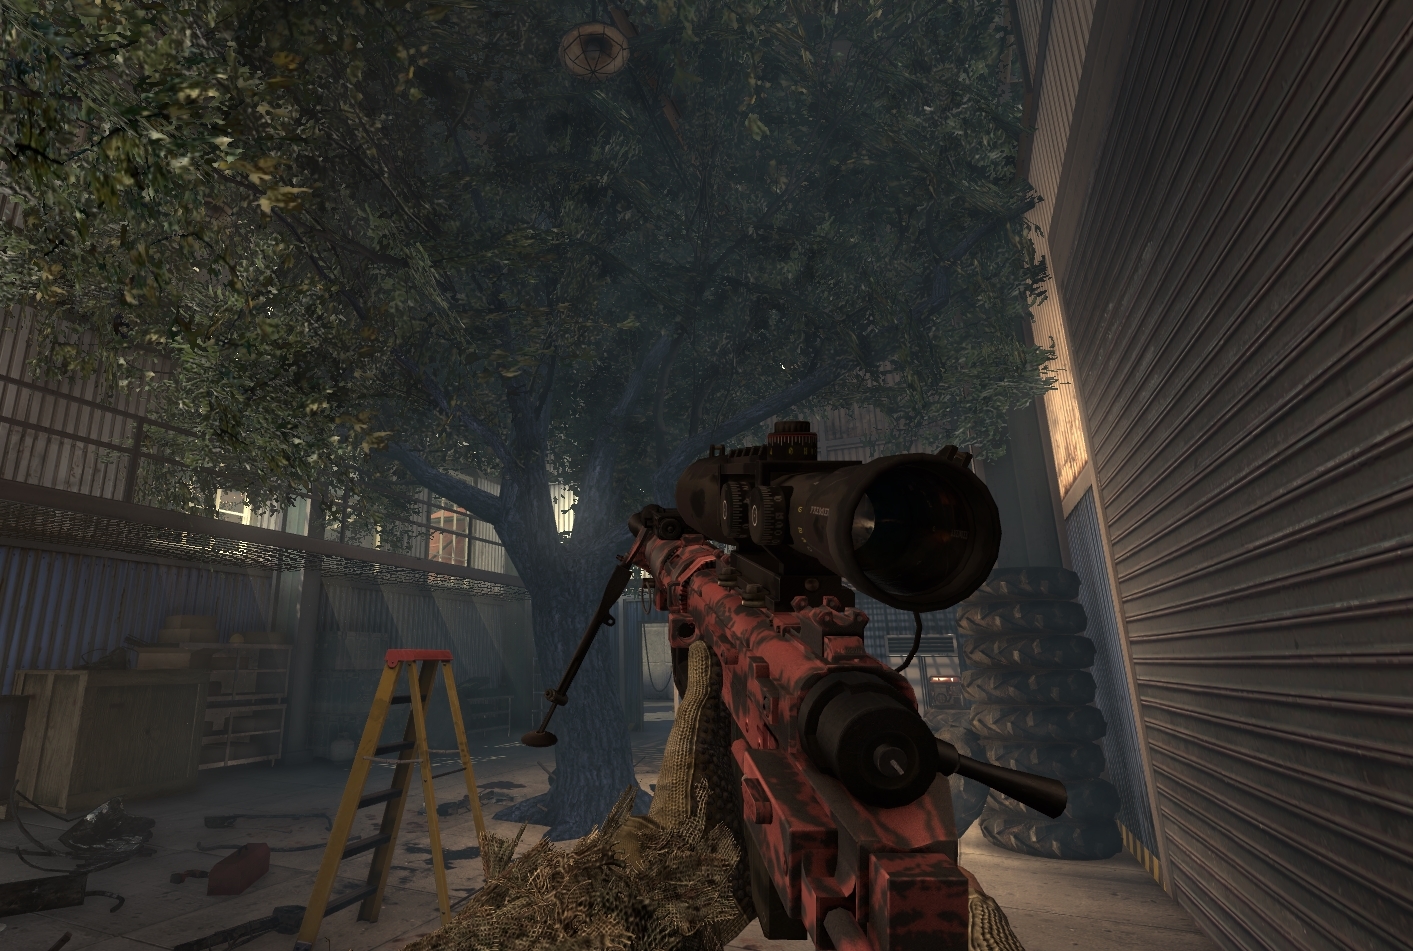
/mvm_bot_spawn custom Team Primary Secondary PriCamo SecCamo
With this method, you can spawn a bot with any weapons/camos you want.
You can use any weapon as a Primary and Secondary.
• Team is either "axis" or "allies" • Primary is one of the weapons from this list. • Secondary is one of the weapons from this list. • PriCamo is one of the camos from this list. • SecCamo is one of the camos from this list.
Image example : /mvm_bot_spawn custom allies ak47_reflex_shotgun_mp stinger_mp red none /mvm_bot_spawn custom axis pp2000_akimbo_silencer_mp cheytac_mp woodland blue
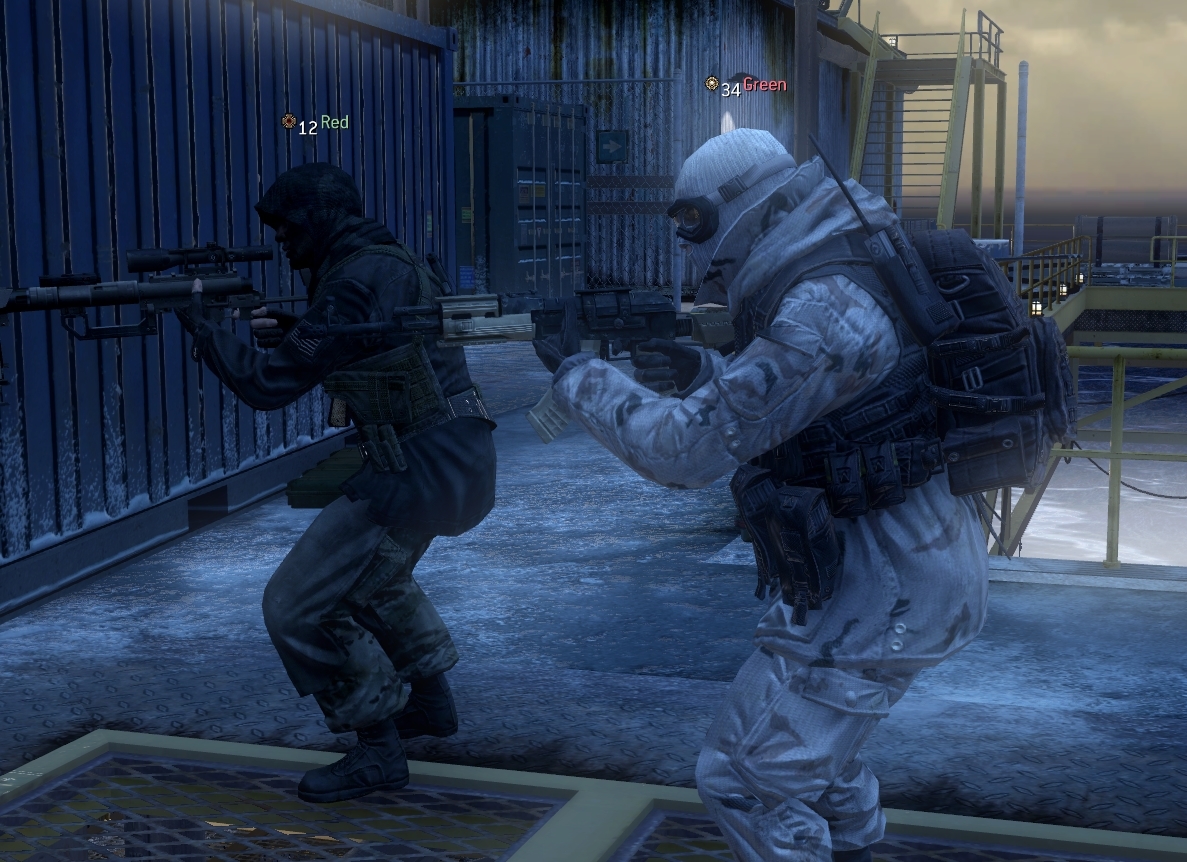
/mvm_bot_setup Name
If you want to change the position of your bot, then this is the command you need.
The bot will also respawn to its new position if it gets killed.
• Name is the name of the bot or a part of its name.
Image example : /mvm_bot_setup Green
/mvm_bot_aim Name
This command will make the bot aim at its closest enemy once.
If you need the bot to STARE at you continuously, please refer to the command below.
• Name is the name of the bot or a part of its name.
Image example : /mvm_bot_aim Green
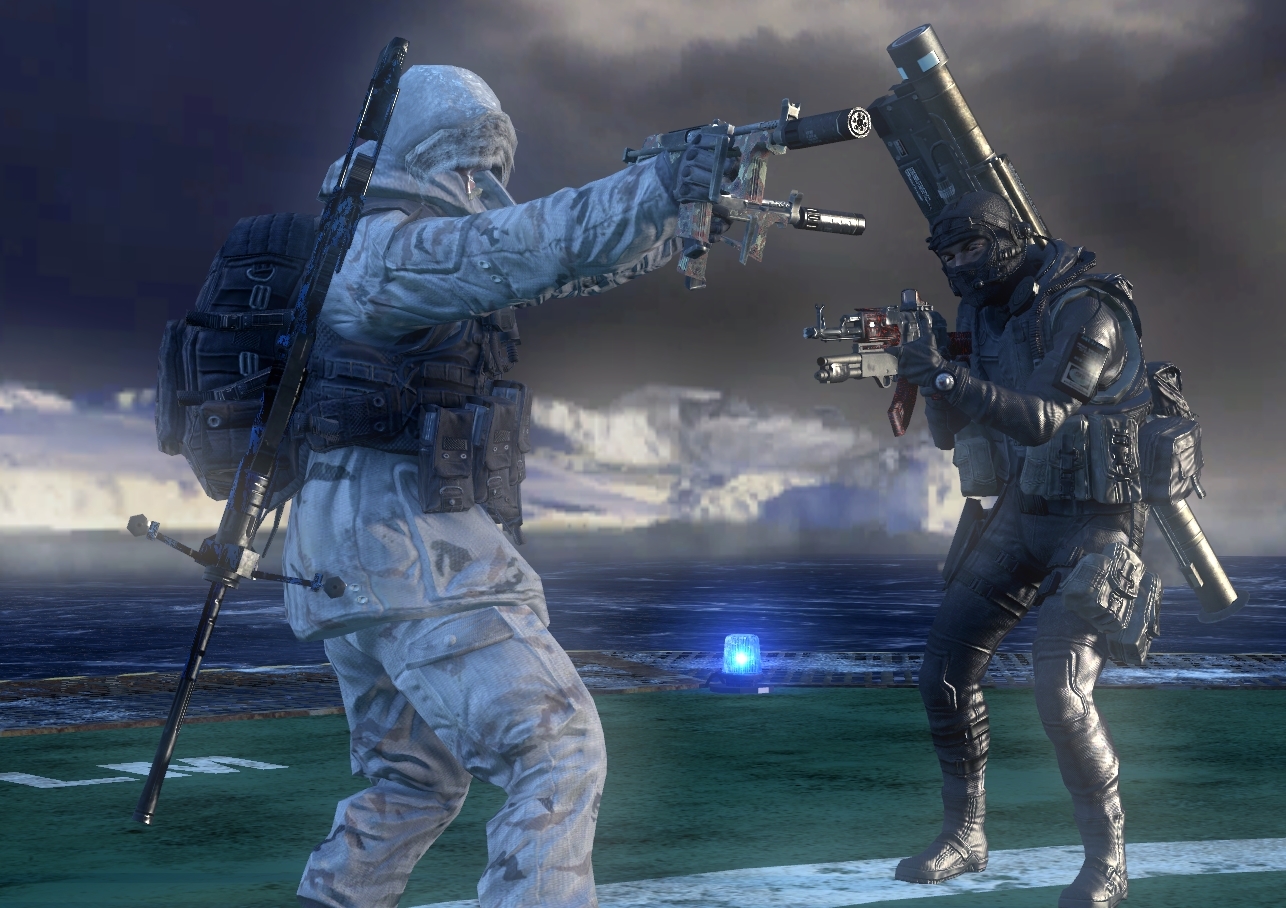
/mvm_bot_stare Name
This command will make the bot stare its closest enemy continuously.
Works with multiple bots at once. Typing the command again will make the specified bot stop.
• Name is the name of the bot or a part of its name.
Image example : /mvm_bot_stare Green
/mvm_bot_model Name MODEL Team
This command will change the bot's playermodel.
• Name is the name of the bot or a part of its name. • MODEL is one of the following : ASSAULT, SHOTGUN, SMG, LMG, RIOT, SNIPER, GHILLIE • Team is either "axis" or "allies"
Image example : /mvm_bot_model Green RIOT allies
/mvm_bot_kill Name Type
This commands allows you to kill a bot a certain way.
This is useful especially when using binds for cinematics.
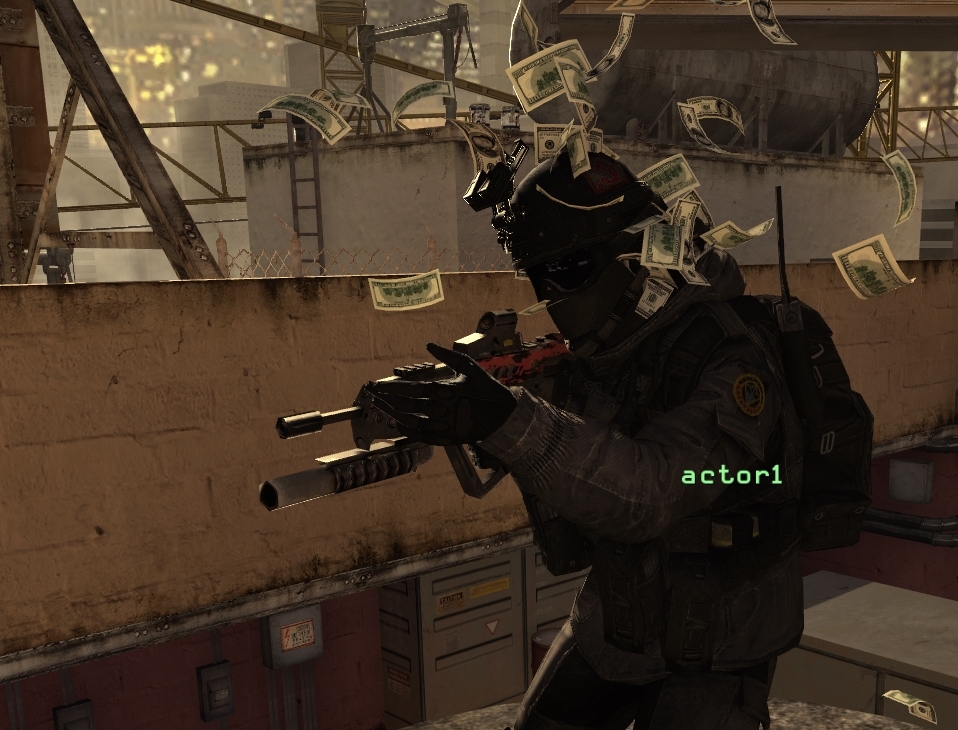
• Name is the name of the bot or a part of its name. • Type is one of the following : body, head, cash, shotgun
Image example : /mvm_bot_kill Green cash
/mvm_bot_holdgun
When this is toggled on, bots to keep their weapons in their hands when dying.
HOWEVER, the bots have to be killed with the mvm_bot_kill command for this to work.
Image example : /mvm_bot_holdgun
Actors, unlike bots/players, are just models that you can spawn and use animations on. They're not replacing bots, both are good in their own way.
They're usually used because they can play a very specific animation, aswell as Singleplayer ones (c.f "SP Animations w/ Actors")
Keep in mind that actors can be a little difficult to learn, especially at the beginning! But they can be worth the effort once you got the hang of it.
What is precache ? : In order to use actors, you will need to edit this file. This will tell the game which animations and models you're going to use. The game limits the amount of precache you can put. Trying to put too much precache can cause overflows. Knowing this, consider using the least precache as possible. Somewhere between 20-30 lines should be your max.
How does it work : Animations will always need to be precached, using `precacheMPAnim("NameOfTheAnimation");` Regular playermodels do not need precache; Only singleplayer ones do. (c.f "SP Animations w/ Actors") Here are the list of every MP animation. You will need to precache them in order to use them. You can find more technical details in the _precache.gsc file itself.
/mvm_actor_spawn Body Head (Anim)
This command with spawn an actor with provided models.
(Anim) is optional, and it will spawn your actor directly with a certain animation.
• Body is one of the models from this list. (Only Multiplayer ones) • Head is one of the models from this list. (Only Multiplayer ones) • (Anim) is optional, you can find a list of all Multiplayer anims here.
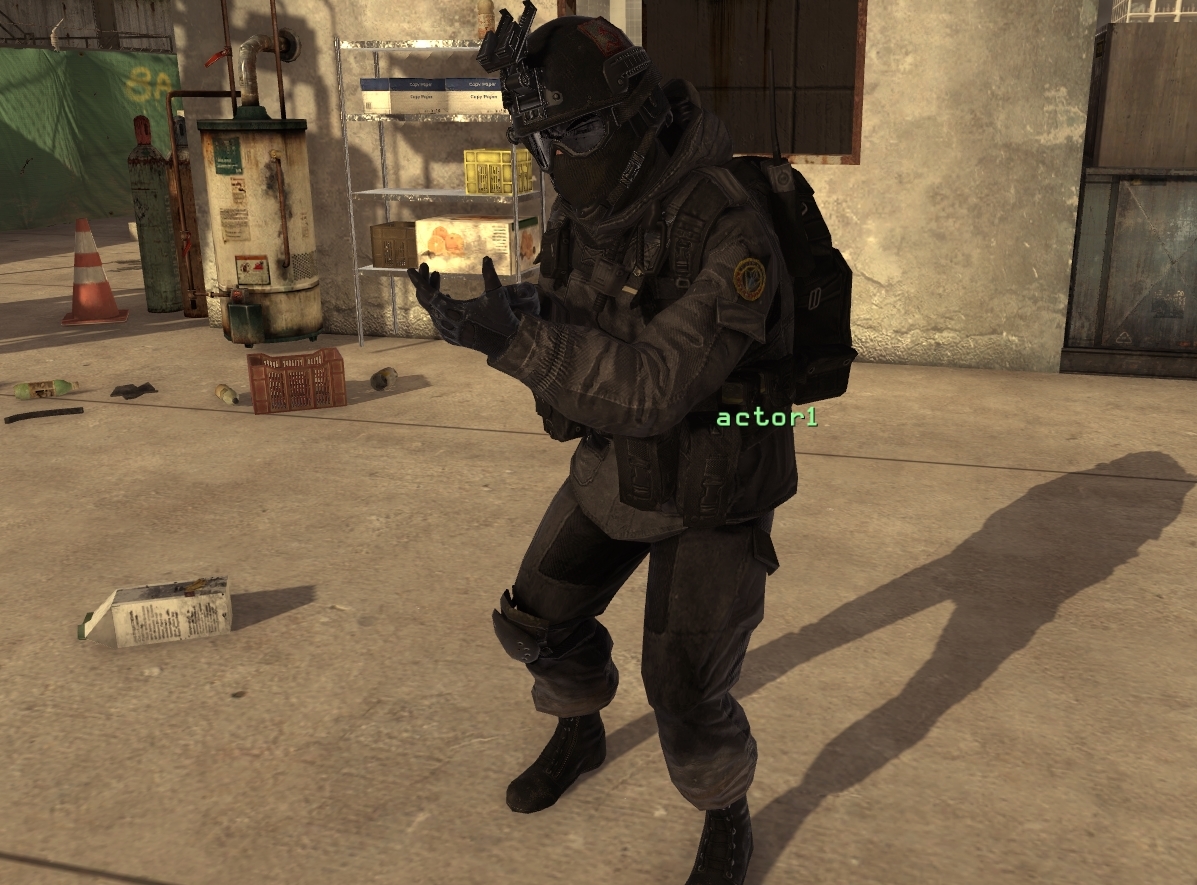
Image example : /mvm_actor_spawn mp_body_airborne_assault_a head_airborne_a
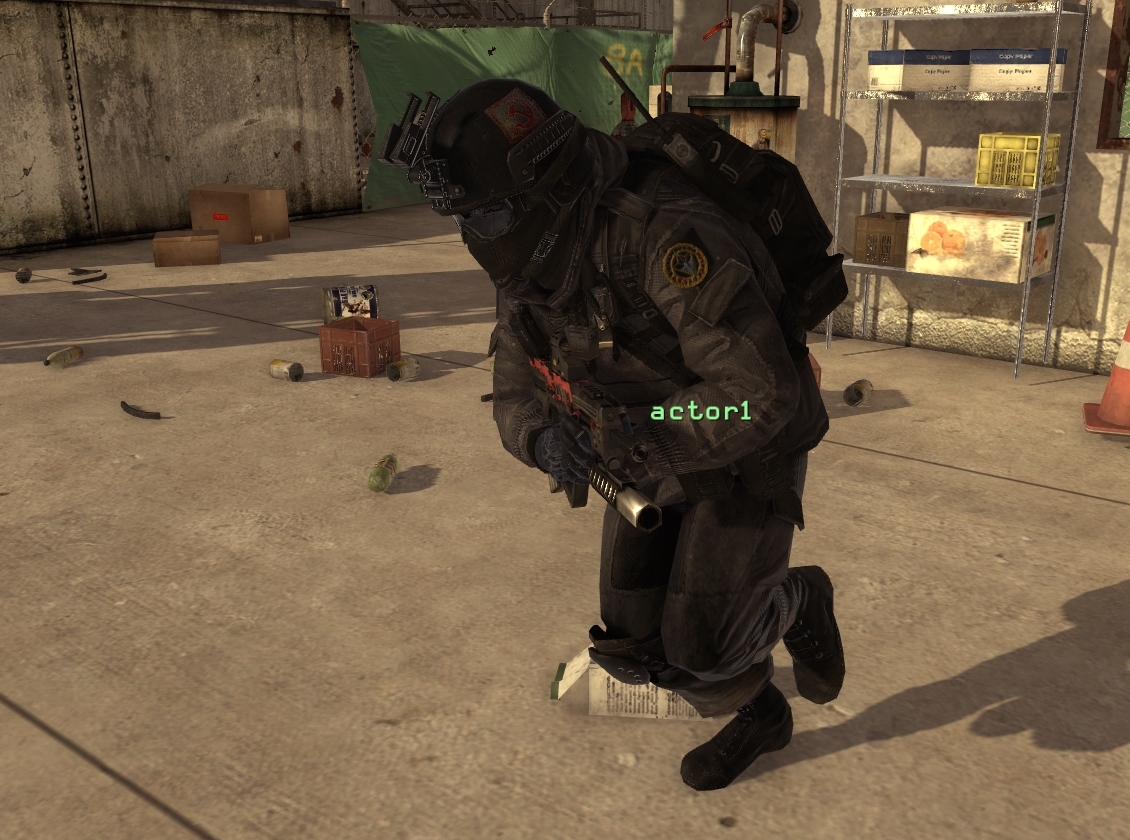
/mvm_actor_model Actor Body Head
If you don't like how your actor looks, you can change its models.
• Actor is the name of the actor (actor1, actor2, etc...). • Body is one of the models from this list. (Only Multiplayer ones) • Head is one of the models from this list. (Only Multiplayer ones)
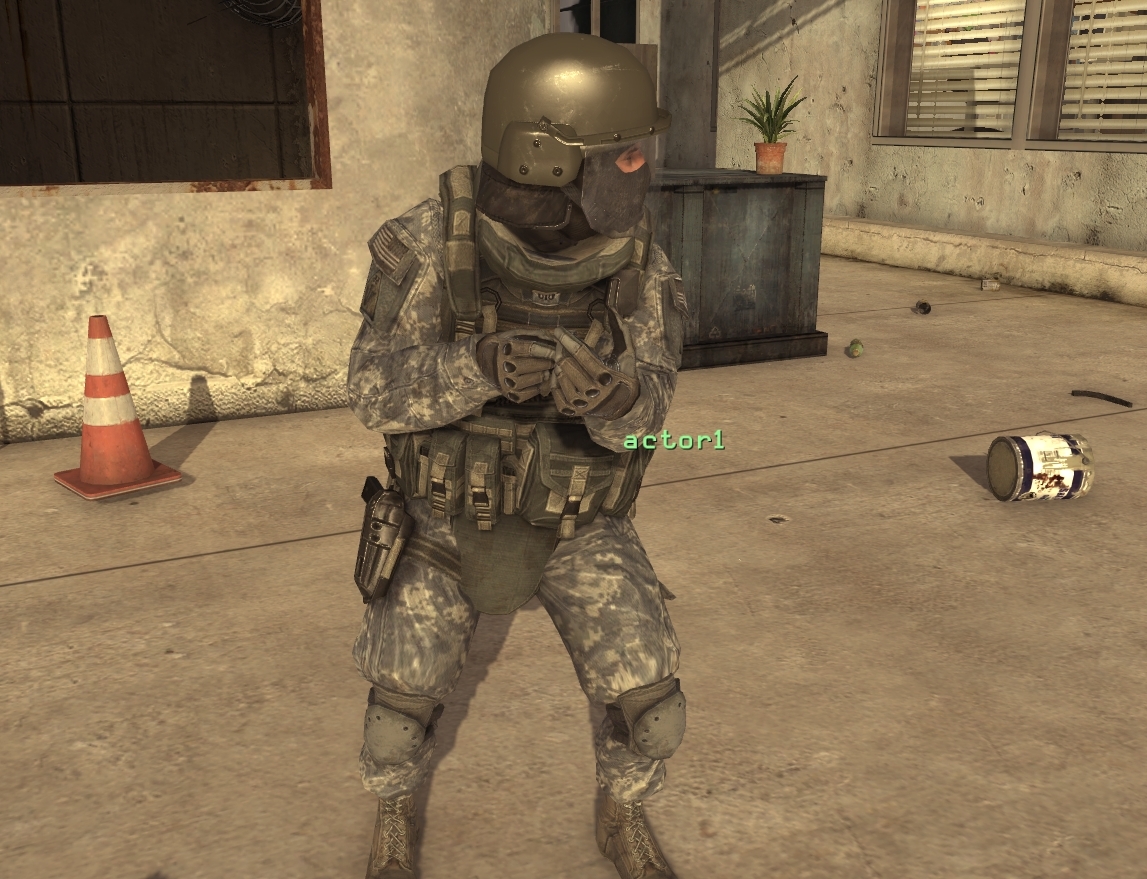
Image example : /mvm_actor_model actor1 mp_body_us_army_lmg head_us_army_e
/mvm_actor_move Actor
Moves the actor to your position.
• Actor is the name of the actor (actor1, actor2, etc...).
Image example : /mvm_actor_move actor1
/mvm_actor_weapon Actor Tag Weapon Camo
This will attach a weapon to an actor's tag. Works with normal models too. You can attach weapons/models to multiple tags.
• Actor is the name of the actor (actor1, actor2, etc...). • Tag is one of the tag from this list. • Weapon is one of the weaponfile names. • Camo is one of the following (optional) : arctic, desert, woodland, digital, urban, red, blue, fall
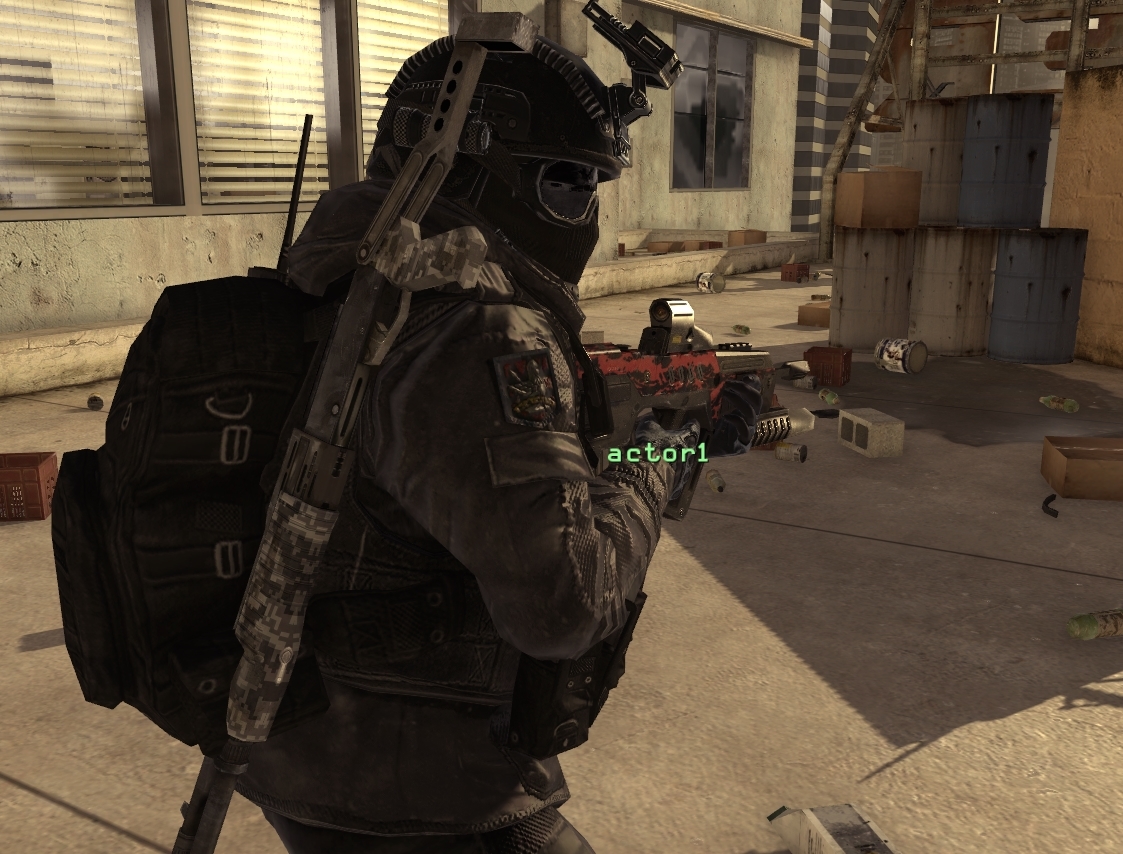
Image example : /mvm_actor_weapon actor1 j_gun tavor_gl_reflex_mp red /mvm_actor_weapon actor1 tag_stowed_back spas12_mp digital
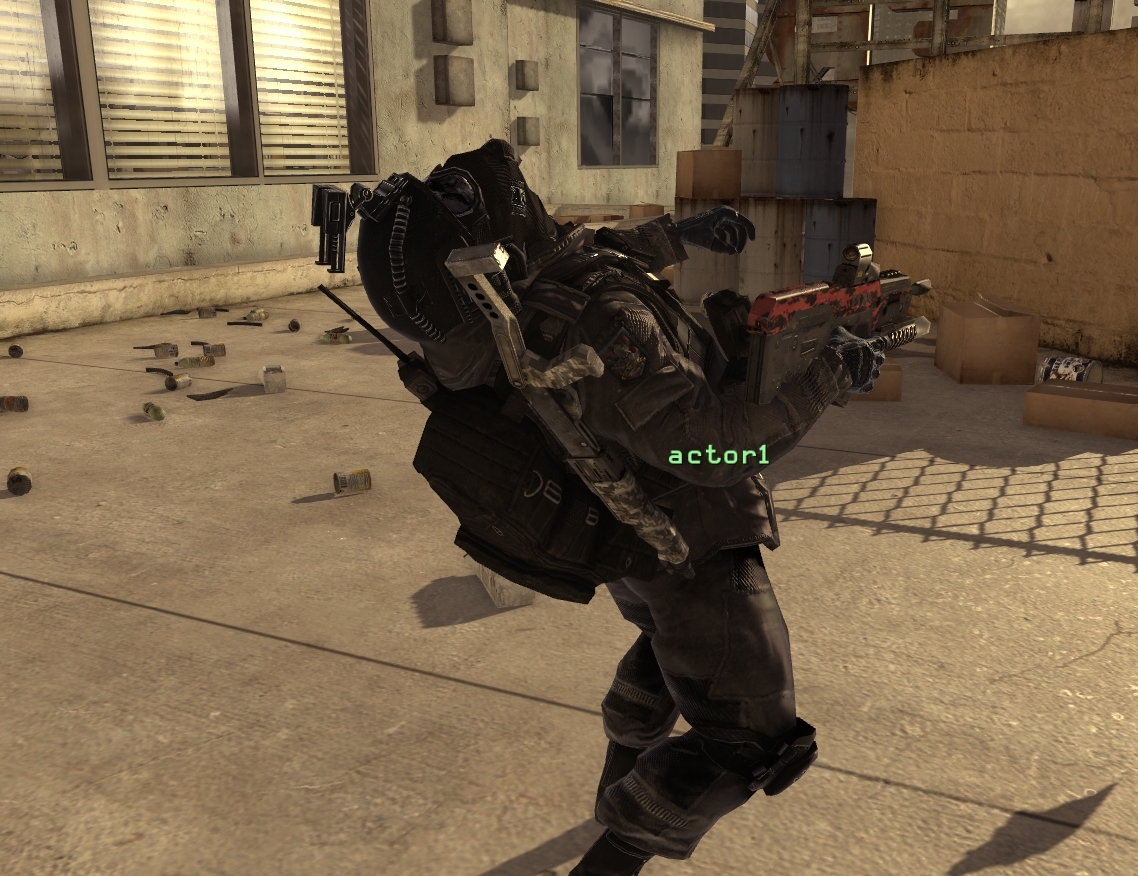
/mvm_actor_anim Actor Anim
You can change an actor's animation using this command.
• Actor is the name of the actor (actor1, actor2, etc...). • Anim is the name of the animation from this list. (Only Multiplayer ones)
NOTE : Animations needs to be precached using the _precache.gsc file.
Image example : /mvm_actor_anim actor1 pb_sprint
/mvm_actor_death Actor Anim
This will change the animation the actor will play when it's killed.
• Actor is the name of the actor (actor1, actor2, etc...). • Anim is the name of the animation from this list (Only Multiplayer ones).
NOTE : Animations needs to be precached using the _precache.gsc file.
Image example : /mvm_actor_death actor1 pb_stand_death_neckdeath_thrash
/mvm_actor_walk Actor Time Direction
The actor will walk towards a certain direction, in a given time. This is the simple way to make actors walk.
• Actor is the name of the actor (actor1, actor2, etc...). • Time is the time in seconds to cover the premade distance. • Direction is one of the following : forward, backward, left, right
Image example : /mvm_actor_walk actor1 3 forward
/mvm_actor_path_save Actor Node
/mvm_actor_path_del Actor Node
/mvm_actor_path_walk Actor Time/Speed
Bezier-style path for actors. Not recommended for close-ups since it can look laggy on slower timescales.
• Actor is the name of the actor (actor1, actor2, etc...). • Node is node number from 1 to 13 (13 is max). • Time/Speed : time to go from node 1 to 2 (if only 2 nodes) or the speed of the actor (if more than 2 nodes)
Image example : /mvm_actor_path_walk actor1 30
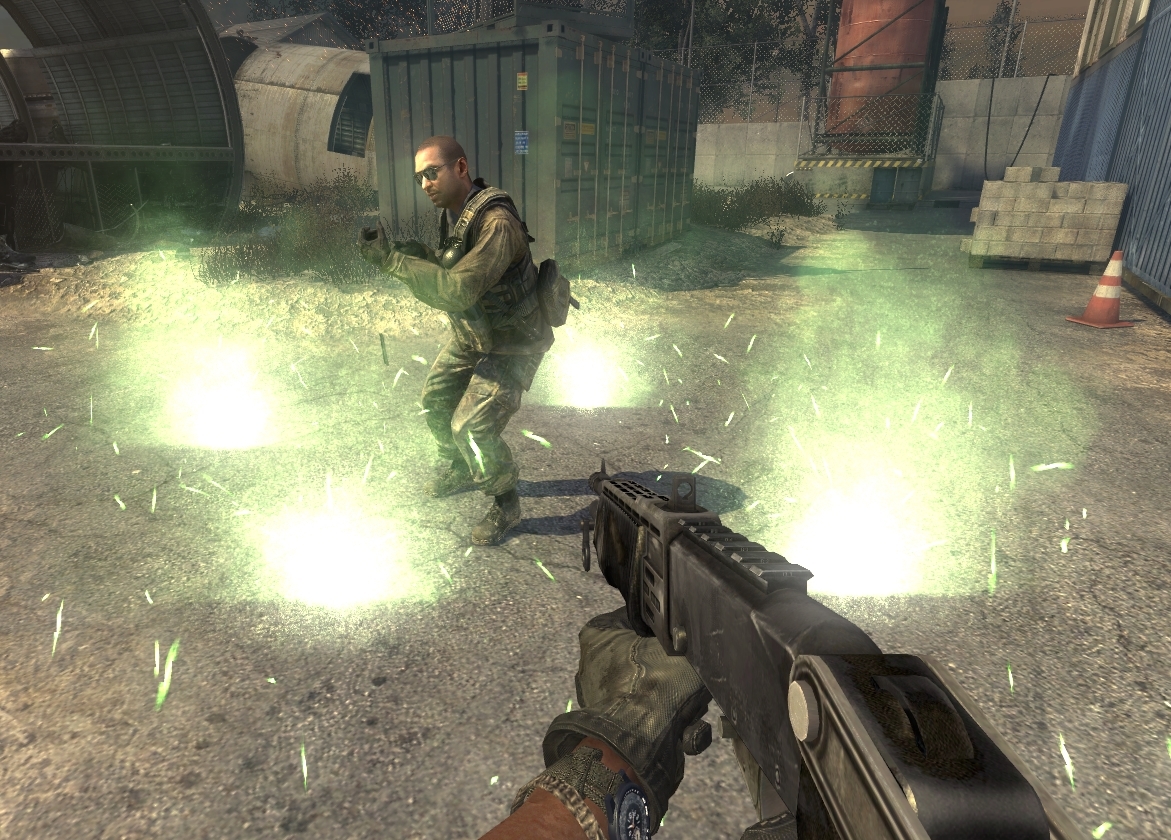
/mvm_actor_fx Actor Tag FX
Plays a FX from a list of preset effects. Normal effects (c.f mvm_env_fx) MIGHT work.
• Actor is the name of the actor (actor1, actor2, etc...). • Tag is one of the tag from this list. • FX presets are : shot1, shot2, shotgun, headshot, blood, cash, flash. Normal FX names might work too.
Image example : /mvm_actor_fx actor1 j_head cash
/mvm_actor_gopro Actor/Action Tag X Y Z R P Y
"GoPro" style camera for actors. Works only at far distances from subject.
• Actor/Action is the name of the actor OR either : on / off / delete. • Tag is one of the tag from this list. • X Y Z is the position of the camera (relative to the tag). • R P Y are the angles of the camera (relative to the tag).
Image example : /mvm_actor_gopro actor1 j_head -10 30 130 100 95 120 /mvm_actor_gopro on /cg_fov 25
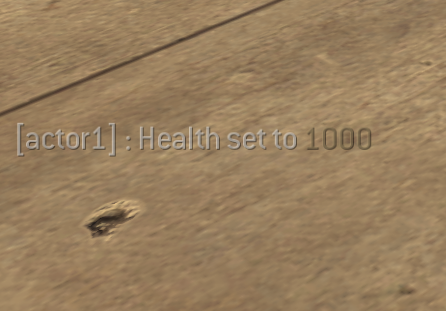
/mvm_actor_health Actor Health
You can change the actor's health to your liking with this command.
• Actor is the name of the actor (actor1, actor2, etc...). • Health is exactly what it is (default health is 120).
Image example : /mvm_actor_health actor1 1000
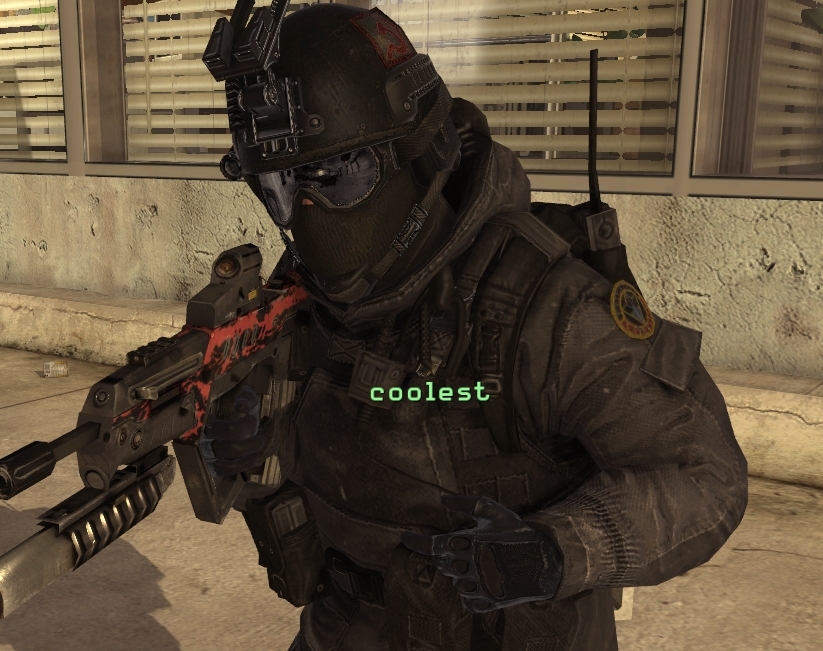
/mvm_actor_rename Actor NewName
You can change the name of your actors. Can be convenient if you're using alot of them at once.
• Actor is the name of the actor (actor1, actor2, etc...). • NewName is the name you want to give to the actor.
Image example : /mvm_actor_rename actor1 coolest
I can't recommend this enough : Learn how to use actors until you're comfortable with them before trying SP animations. Seriously. You should absolutely experiment with 'normal' actors atleast a few times before you get into this, so you can understand how they work. At the end of the day I'm not your dad so do whatever you want. But don't give me s#*t because you have no idea of what you're doing. You've been warned
About ZoneBuilder : ZoneBuilder is essentially an assets compiler for MW2; It's a tool designed for the implementation of custom assets. But it is also capable to "repack" assets already existing in the game, which is the case of the animations/models from the Singleplayer campaign.
Installing ZoneBuilder (React & IW4x) : - If you're using ReactIW4, you can download ZB here. Simply extract the archive's content in your MW2 directory. - If you're using IW4x, ZB is already fully integrated in the client's .exe. To start it, start iw4x.exe with the "-zonebuilder" argument (with a shortcut for example).
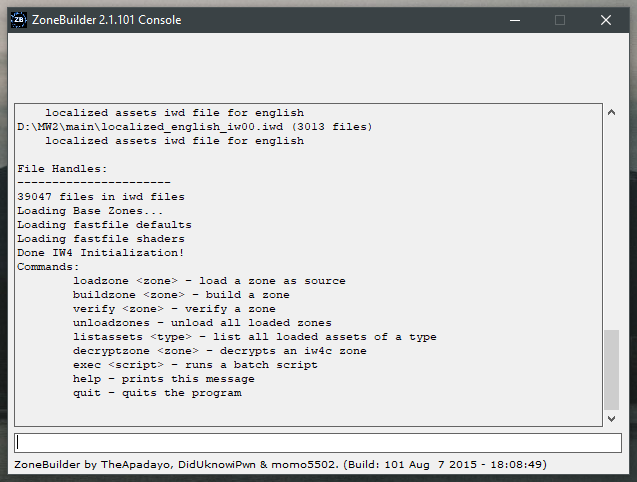
Use your basic brain and eyeballs functions to open ZoneBuilder.exe.
If you didn't mess anything up, a console should appear like that -->
Now you need to have somewhat of an idea of the anims you want, but no need to ask me "hey dude where I can find that anim ?" because I'm not Wikipedia and I'm not inside your head.
If you know the SP mission the anim you want is from, you can search for the file name in the MW2/zone/english folder and take a wild guess.
If you don't know where to start, you can use ending.ff which is the Museum mission; it got a bit of everything. That's the file I'm going to use in this tutorial anyway.
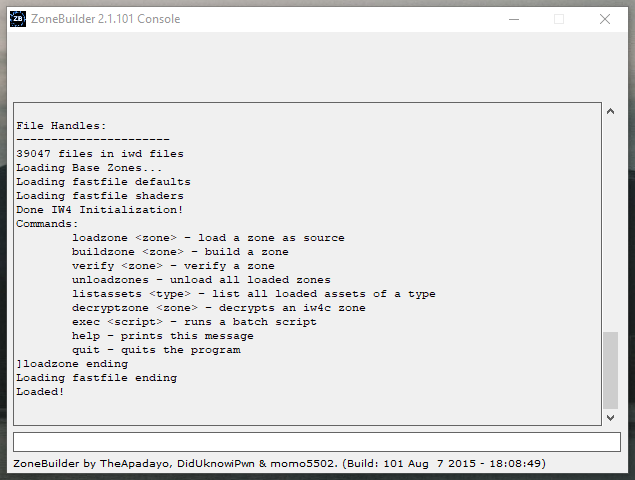
For the next step, type in the fastfile you want to load like so : loadzone NameOfFastFile
Make sure you do NOT type the file extension !!
- If you're using the legacy ZB tool (React), a message saying "Loaded!" will pop up if you've done this right.
- If you're using IW4x, you won't see such a message, but the fastfile is loaded as soon as you enter the command. If you didn't get any error message or crash, it means it loaded successfully.
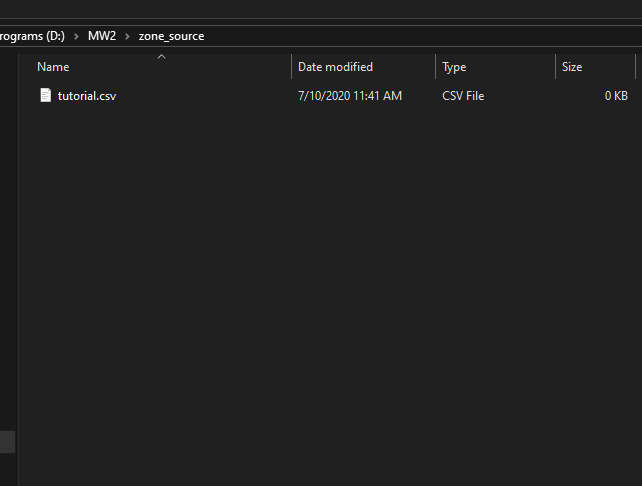
Next, go in your MW2/zone_source folder (create it if it doesn't exist already).
You will need to create a .csv file inside that folder. For that , you can create a .txt file, and change the file extension to.csv
This is the file where we will put the different assets we want to compile in our own custom Fastfile.
Keep in mind that .csv files are very strict : During the next steps, DO NOT leave blank lines or comments. The file needs to be squeaky clean.
Singleplayer animations can only be played on Singleplayer models !!
SP and MP models are using a different bones structure around the spine, which causes them to break if interchanged. So, if you want to use SP anims, you need SP models first.
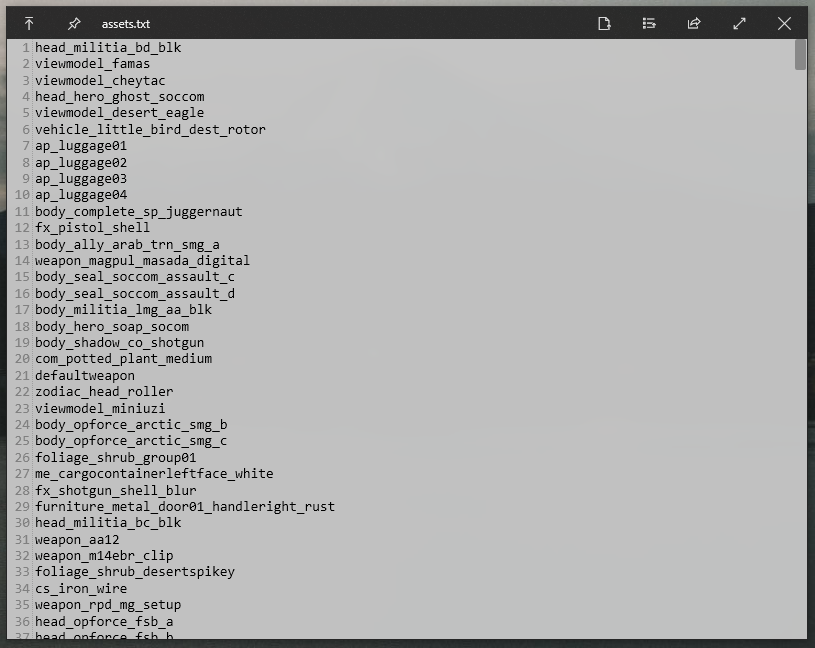
To get the list of the models, type listassets xmodel in the ZB console.
- If you're using the legacy ZB tool (React), a file called "assets.txt" will be created, containing all the models
- If you're using IW4x, go in your userraw/log folder, and open the latest console_mp.log file
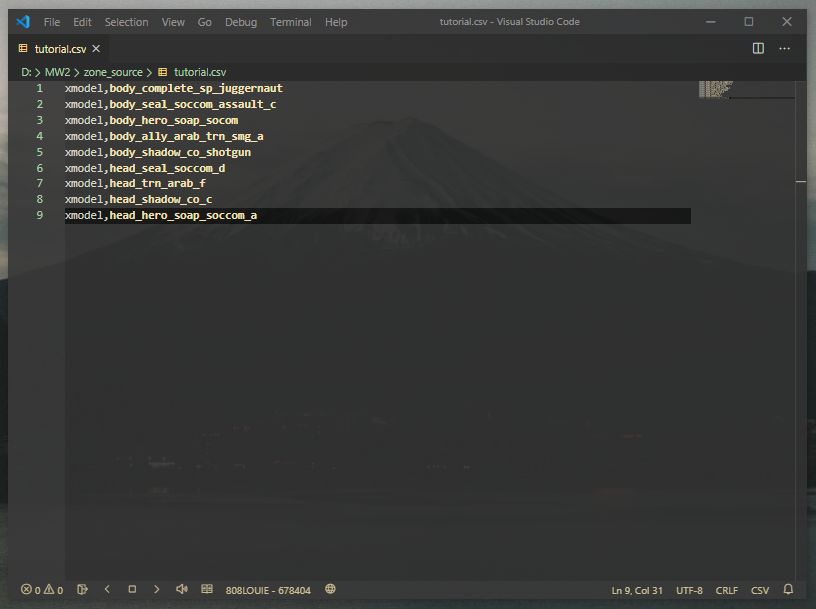
Now, you need to add the models you want in your .csv file using this format : xmodel,NameOfTheModel
You need to put every model on a new line. Make sure to not put too much in the file either; A limit of 30-40 assets should be your limit *(in total, so that means WITH the animations we'll put in later)
Here's what my example file looks like :
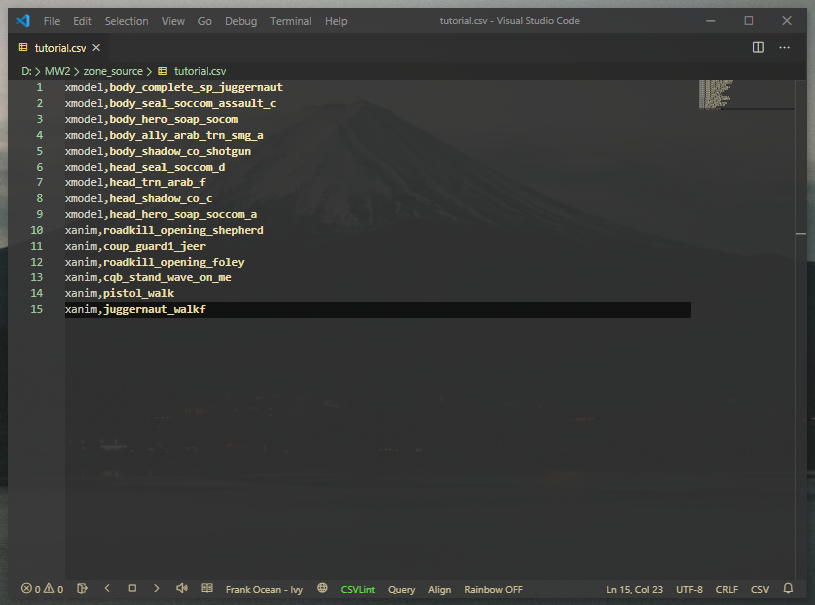
This time, typelistassets xanim in the ZB console. Then reopen your assets.txt/console_log.log file, and put the animations you want in your .csv file
Keep in mind that all the anims that start with "viewmodel_" are first person animations. Usually the animation's names are pretty explicit. Just don't be stupid and use viewmodel_ or vehicle/props animations...
Here's what my example file looks like :
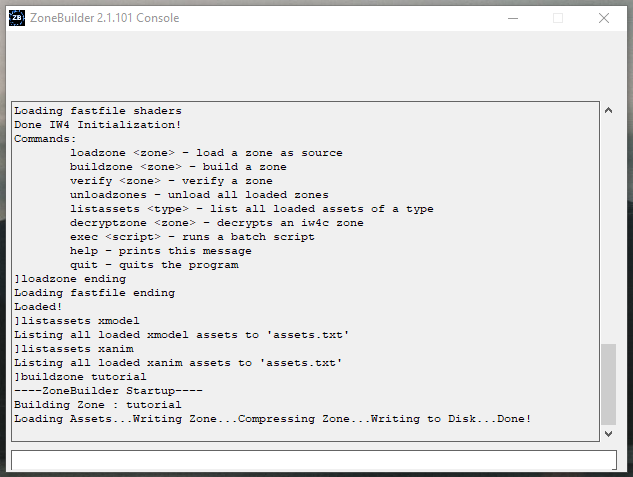
Once you're happy with your .csv file, type buildzone NameOfTheCsv in the ZB console. If you didn't get any error message or crash while doing so, congratulations, you've made it!
Next step is to add the models and animations from the .csv to your precache, using precacheModel("modelname"); and precacheMPAnim("animname");.
Once you've done that, take the FastFile you created (you can find it in your "zone" folder), rename it to mod.ff and put it in your mods/YourModName folder. Voila!
Camera commands are now obosolete since the release of luckyy's IW4MVM tool. However, they're still usable and well so they're part of this documentation anyway.
/mvm_cam_save Node
Save a camera node. Goes from 1 to 13 in bezier mode.
• Node is the node's number you want to save (1, 2 ,3 etc...)
Image example : /mvm_cam_save 1 /mvm_cam_save 2 /mvm_cam_save 3
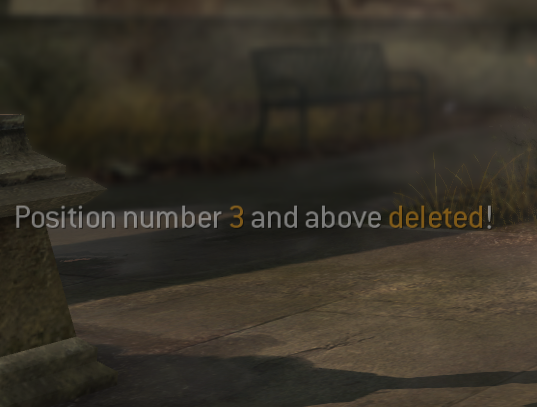
/mvm_cam_delete Node
Will delete said camera node and all above.For example, deleting node 3 will delete the node 4, 5 etc...
• Node is the node's number you want to delete (1, 2 ,3 etc...)
Image example : /mvm_cam_delete 3
/mvm_cam_rot Angle
Will add provided value to the current angle.For example, doing 20 twice would be the same as doing 40.
• Angle is the angle in degrees
Image example : /mvm_cam_rot -45
/mvm_cam_mode bezier/linear
Chose between bezier or linear path between nodes.
/mvm_cam_start Value
- bezier : Value is speed
- linear : Value is time to do the whole path
/mvm_cam_nade
Toggles grenade camera on and off.
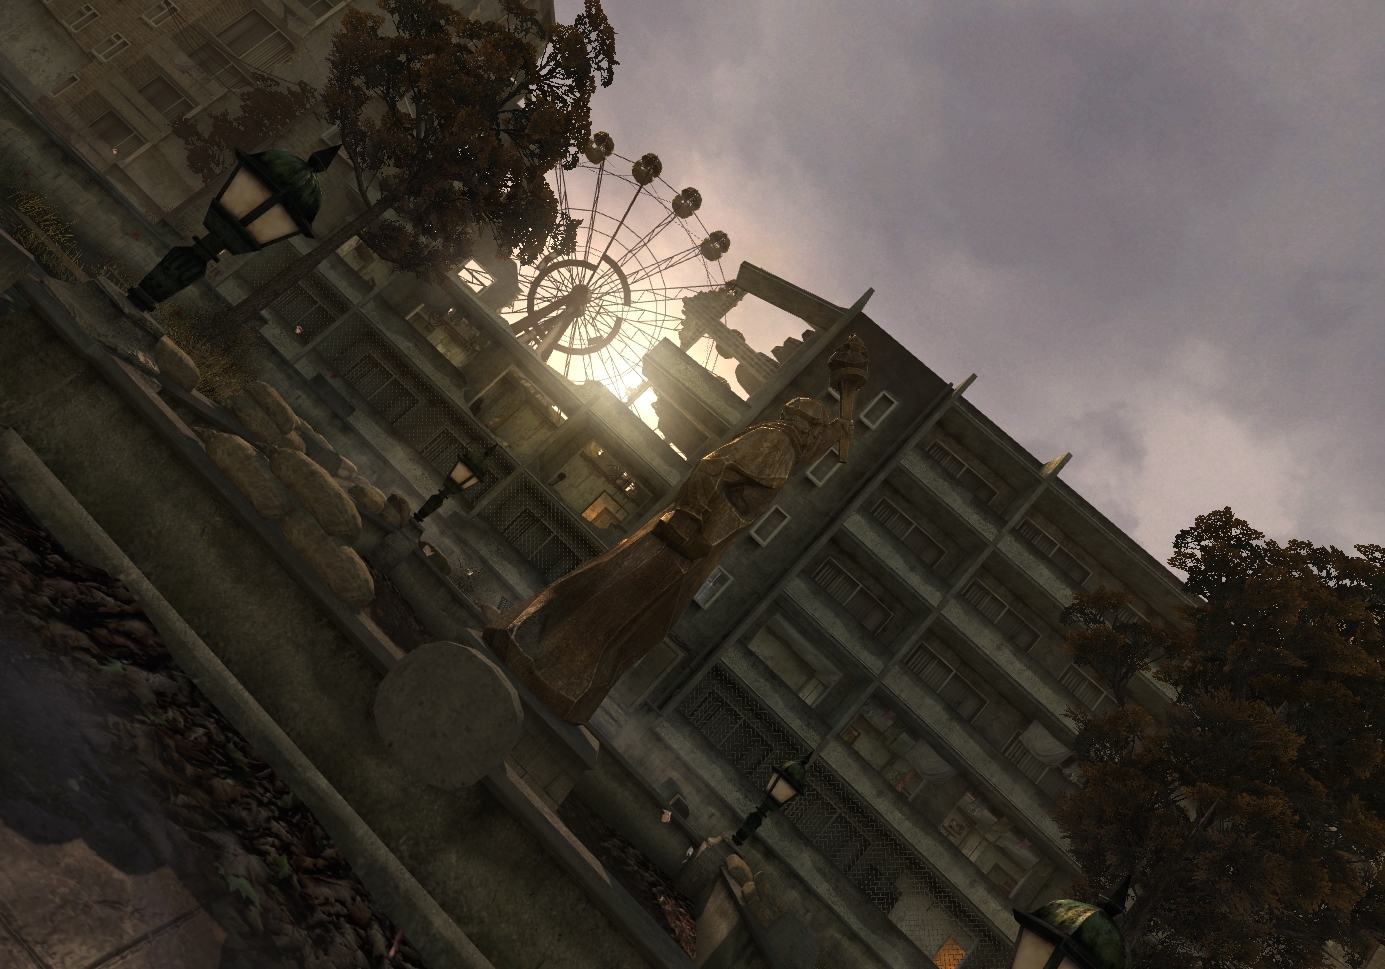
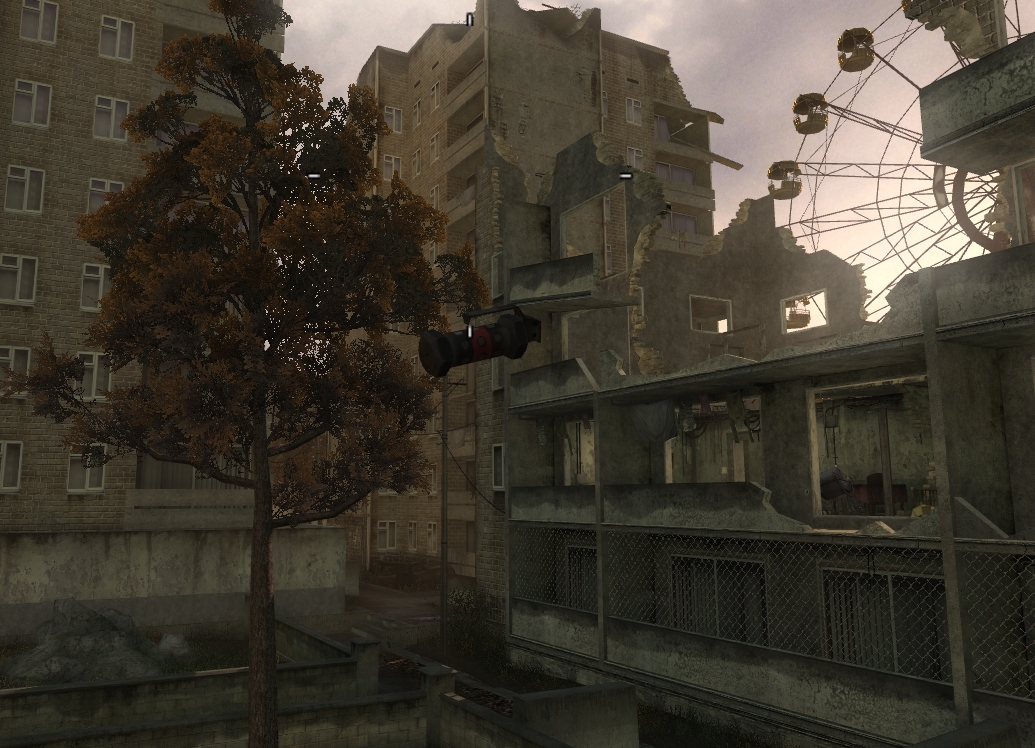
/mvm_env_prop Prop
Will spawn a prop at your position
• Prop is the name of a model to spawn (list here)
Image example : /mvm_env_prop foliage_tree_oak_1_animated2
/mvm_env_fx FX
Spawns an effect where your corsshair is pointed at.
• FX is the name of an FX runner (common FX's here)
Image example : /mvm_env_fx misc/flare_ambient_green
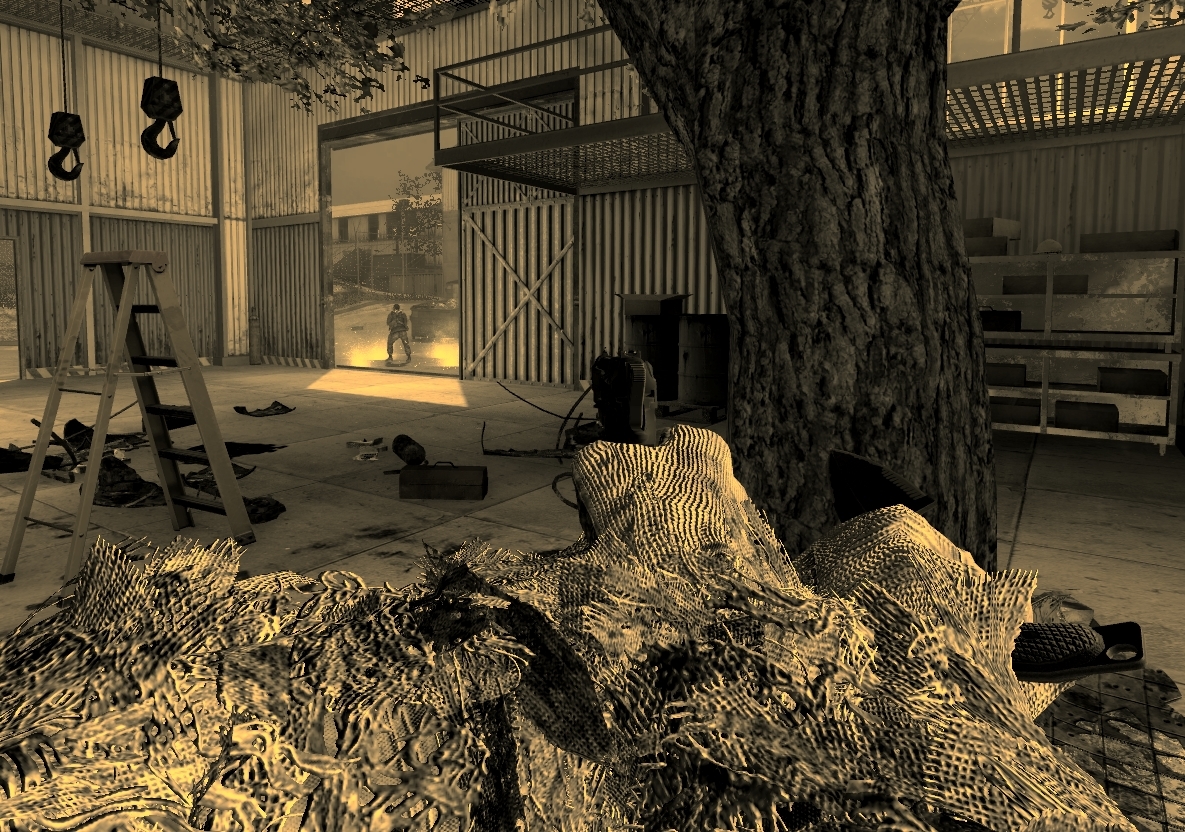
/mvm_env_colors Vision
Will change the color settings of the map (resets on death).
• Vision is the name of a .vision file
Image example : /mvm_env_colors sepia
sass#5455 - @sasseries